Preparing the way for a patio that will last…

John
ALDA in Action

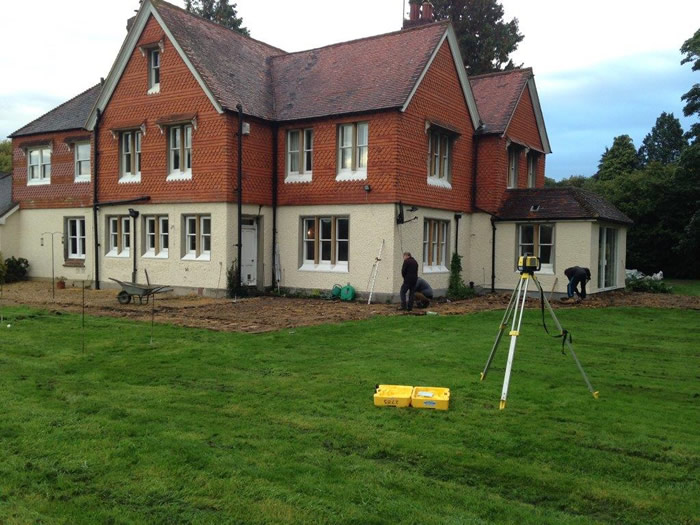
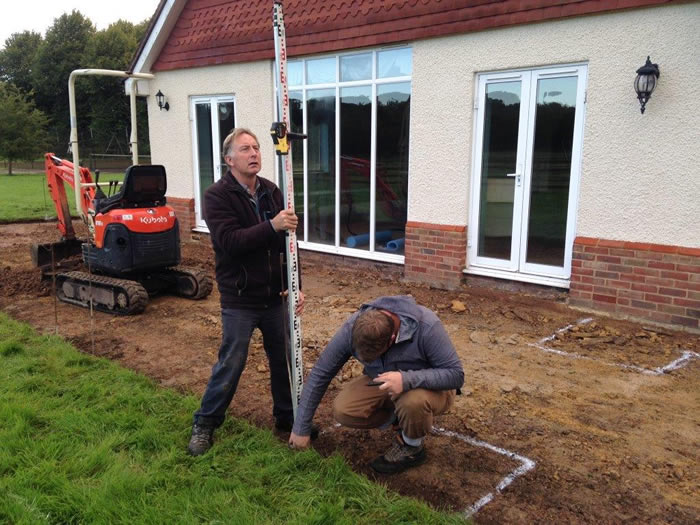
From small beginnings big things take shape…….. many clients might not appreciate how important the first stages of a garden design project are to the creation of the garden of their dreams!

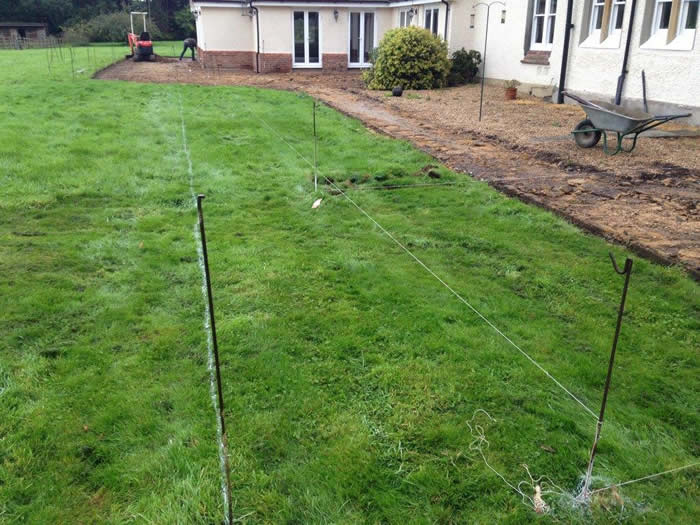
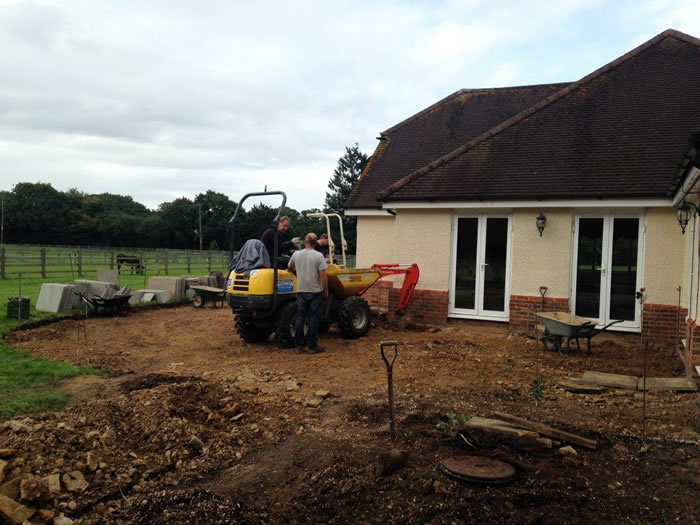
Last week ALDA Landscapes embarked on a new garden design at Upper Basildon.  This build will take place over 4 weeks, and involves refurbishing a large patio and terraced areas and also the construction of raised beds incorporated within the paving design.

Over the last few days I have taken photos of our progress to illustrate the various stages involved to ensure the patio is constructed to a high standard and will stay looking good for many years to come!

First of all we start by lining out the area for the new patio.


Next, we start excavating the ground, using a digger and, in sensitive areas (near drains for example), by hand, using spades.


Levels are set (also allowing for an appropriate fall – and direction of fall - for drainage) by using a laser level which sits on a tripod.
Levels are set (also allowing for an appropriate fall – and direction of fall – for drainage) by using a laser level which sits on a tripod.


Then the beds and patio areas are marked out as per Alison’s design plan. In this photo, my foreman Andy can be seen making sure the levels are correct by using a staff formation.


It is important at this stage in the job to use the right sub-base for the type of soil you are building on to ensure longevity of the patio. A whacker plate and a vibrating roller for the larger areas are used to compact the type 1 MOT scalpings sub-base to ensure an even and free draining surface to lay the paving slabs on.


All the above has taken 4 days’ work for the team as the garden is substantial in size.


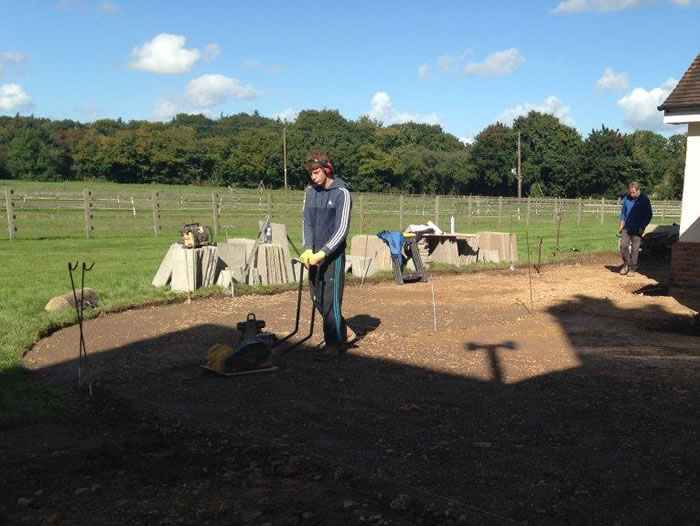
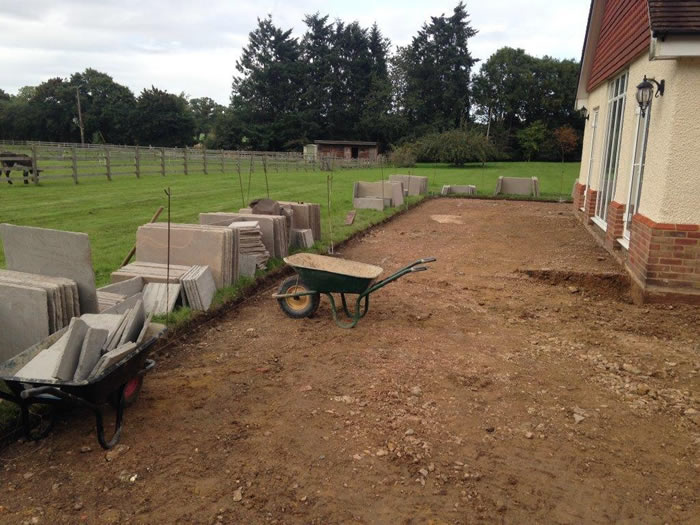
As I write on day 5 we are starting to lay the Tumbled Raj’ Indian Sandstone paving slabs and the effort of the last few days really pays off as the job takes shape. A stage every client enjoys – when the muddy phase is over and they get an idea of how their finished patio will look!

Keep an eye out for next month’s blog when more photos of our progress can be seen!


Like what you see?

From planning a new border to a complete garden remodel, we pride ourselves on transforming ideas into beautiful reality, with minimum disruption. If you’re based in or around the Reading and Newbury area, we’d love to meet and discuss your project in detail – book your free no-obligation garden consultation today. We do get pretty booked up, particularly during the Spring, so plan ahead if possible!