Laying A New Patio: What’s Involved?
Have you every wondered all the stages we go through when laying a new patio? Here's a quick look at all the work that takes place before the patio is complete.
If you’re thinking of having a new patio laid, it’s useful to know the process that’s entailed. So here’s a quick run through of the phases we take from start to finish in laying a new ALDA patio. We’ll share with you the various stages needed to ensure the patio is constructed to a high standard and will stay looking good for many years to come!
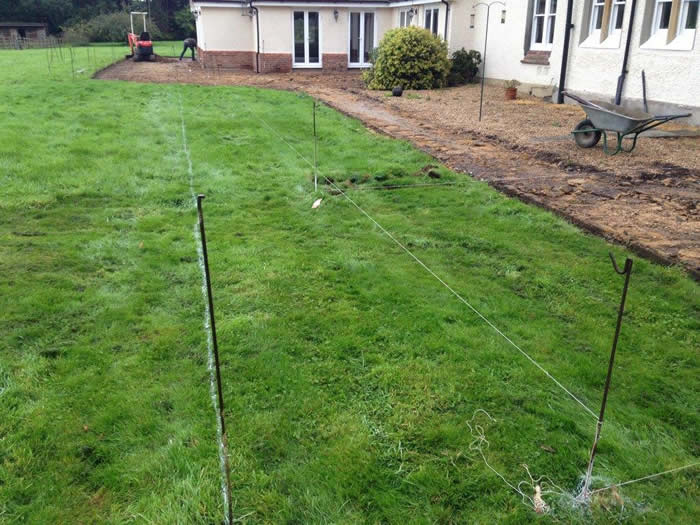
1. Lining out the Area
First of all we start by lining out the area for the new patio
From small beginnings great things take shape…….. you will be able to see the time, work and care that goes into getting the first stages right. Preparing the area well is essential for ensuring the quality and longevity of the patio.
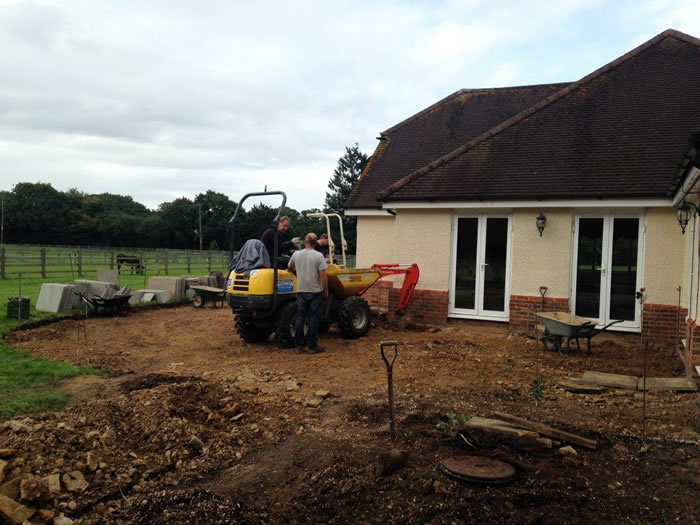
2. Excavating
Next, we start excavating the ground, using a digger and, in sensitive areas (near drains for example), by hand, using spades.
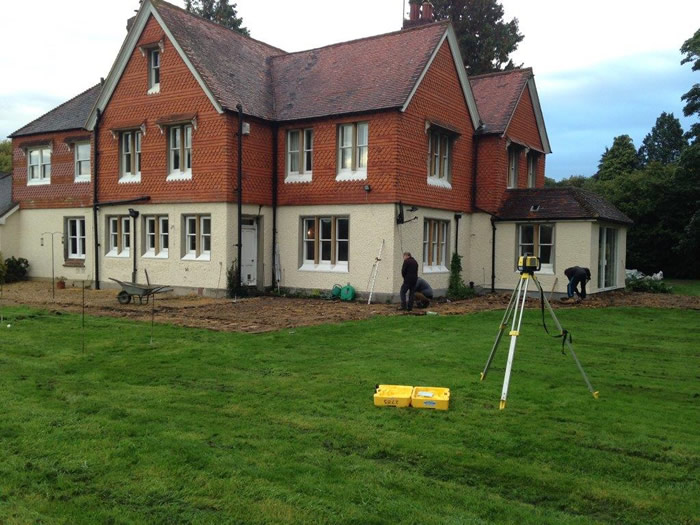
3. Setting the Levels
It is important to allow for an appropriate fall – and direction of fall – so that the patio is well drained. Wherever possible, our patios are built with a very gentle gradient to direct water to a lawn or border, where it can be gently absorbed into the soil. The prepatatory level setting work is done using a laser level which sits on a tripod.
Good drainage is important to ensure the patio’s longevity and to protect your house, as well as making it nicer and safer to use. You can read more about how we ensure good patio drainage here.
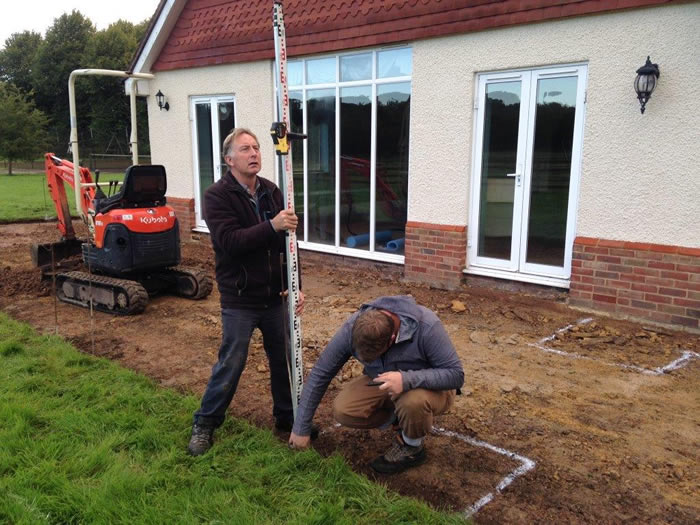
4. Marking out the Beds
Next the beds and patio areas are marked out as per the design plan. In this photo, Andy the foreman is making sure the levels are correct by using a staff formation
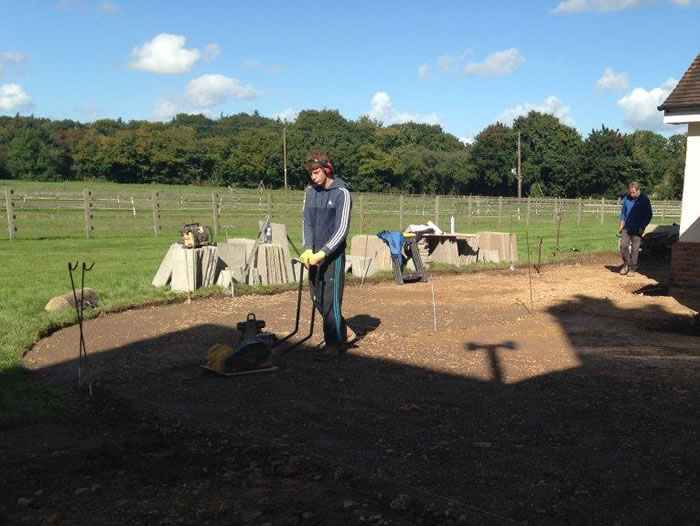
5. Compacting
It is important at this stage in the job to use the right sub-base for the type of soil you are building on to ensure longevity of the patio. In this photo, a whacker plate and a vibrating roller for the larger areas are used to compact the type 1 MOT scalpings sub-base to ensure an even and free draining surface to lay the paving slabs on.
To give you an idea of timescales, the preparation work for this substantially sized patio took the team 4 days. The next stage is the bit which every client enjoys – when the muddy phase is over and they get an idea of how their finished patio will look!
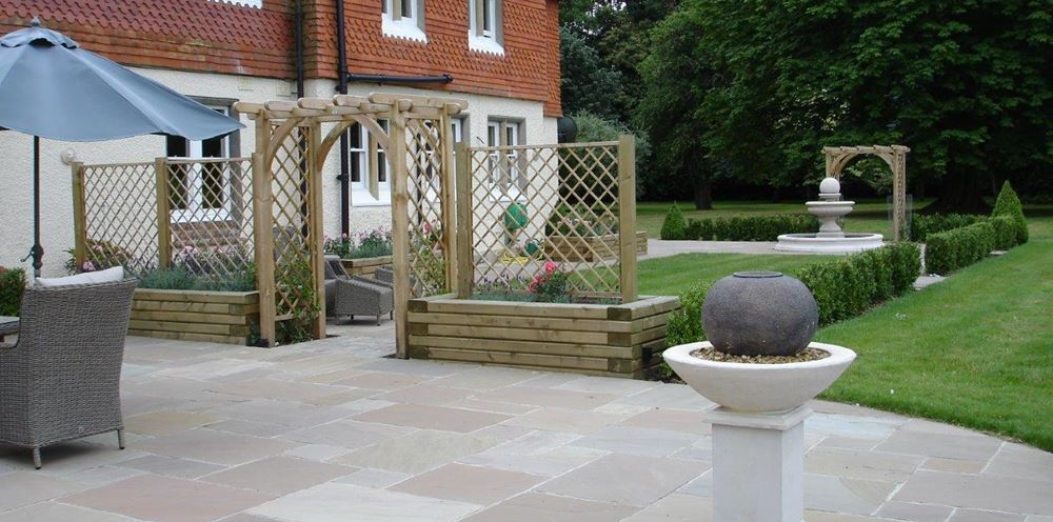
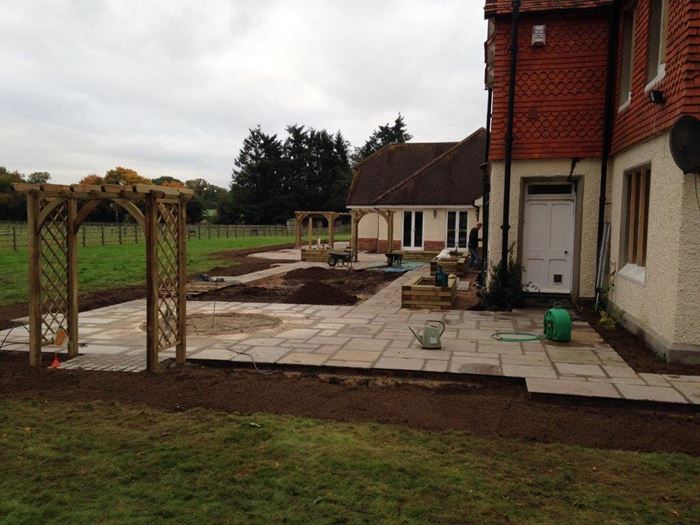
6. Laying the Paving and Constructing the Patio Features
Here most of the paving has been laid, revealing the large scale of the patio. At the same time, the other patio features are constructed and prepared for, working from the design plan. In this case the features comprise of: the trellised arches; the wooden sleeper raised beds; a circular concreted area in preparation for a water feature; a rectangular area prepared for turf; and finally the planting beds next to the edges of the house and patio.
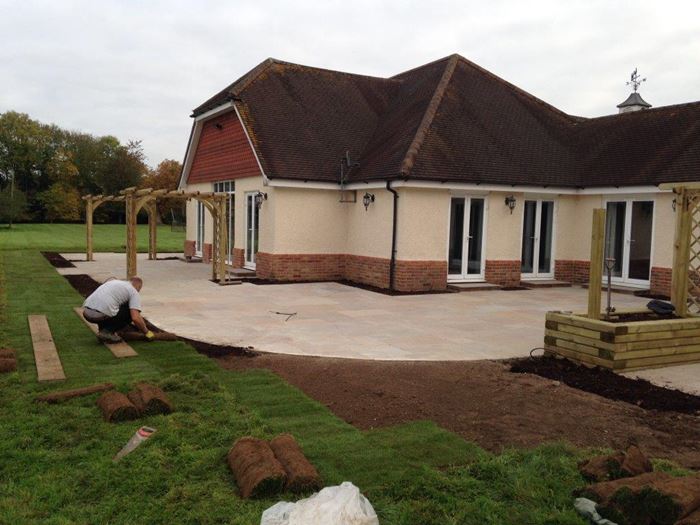
7. Laying the Turf
Great care is taken in the finishing touches. Here, Jim makes sure the turf is cut correctly to match the curved lines of the patio on the last day of the build.
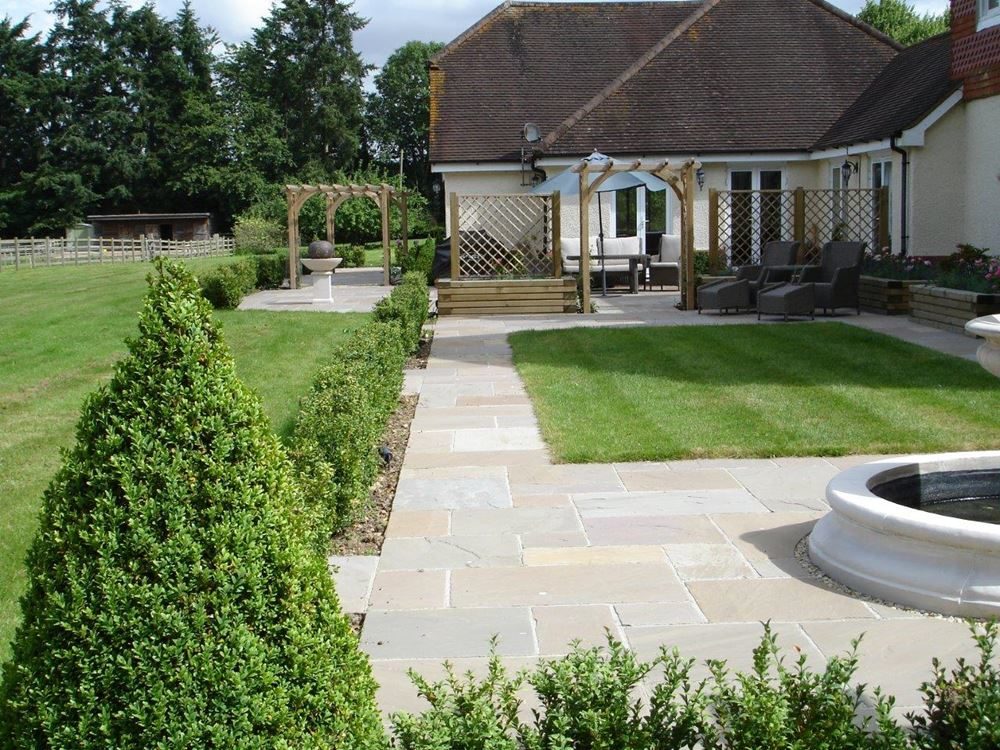
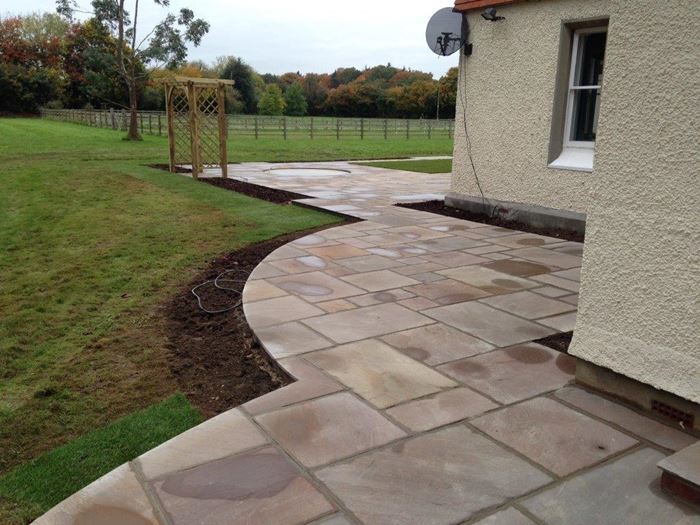
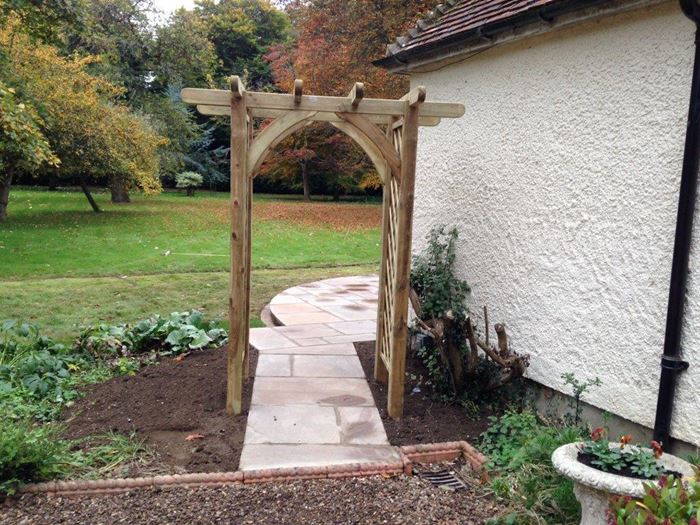
Finally…
We couldn’t leave without showing you the finished garden, with planting and features in situ. As we say, from small beginnings, come great things…. but it wouldn’t have happened without all the stages we went through in preparing and laying the patio. Because of this, our clients will have a patio that not only looks good, but lasts for many years to come.