
A Guide to Garden Steps
Wherever there is a change of level in a garden, some form of step(s) or ramp is required. Garden steps present designers with plenty of opportunities to make bold statements and create interest in a garden, but they also pose practical challenges, particularly in terms of cost and making the most efficient use of often limited space.
In this in-depth post, we take a look at:
Rules of Thumb for Garden Steps | Some Before & After Photos | Step Height, Depth and Width | Illustrated Examples | Practical Design Considerations | More Illustrated Examples
Rules of Thumb for Garden Steps
There are well documented rules of thumb in terms of ideal step dimensions, and what might be termed ‘step psychology’, for example:
- Steps should be uniform in height and width, and in straight steps, depth.
- The minimum height should be 100mm (4”) – anything less is usually considered a trip hazard.
- The absolute maximum height – for comfort – should be 200mm (8”) – this would probably be too high for people who want to frequently carry food and drink in and out of a house e.g. to a socialising area down the garden.
- The aim is to create a good rhythm for people when walking up and down steps, so a lower riser height (e.g. 100mm) is usually accompanied by a deeper tread depth (say, 500mm), and vice versa – so a riser height of 200mm would normally be associated with a shallower tread depth (say 250mm).
- Narrow steps tend to impart a sense of haste and urgency, as do shallow, steep steps; wider, deeper steps tend to feel more unhurried, safe and relaxed (and are potentially also a place to arrange containers!).
The Difference Steps Can Make…
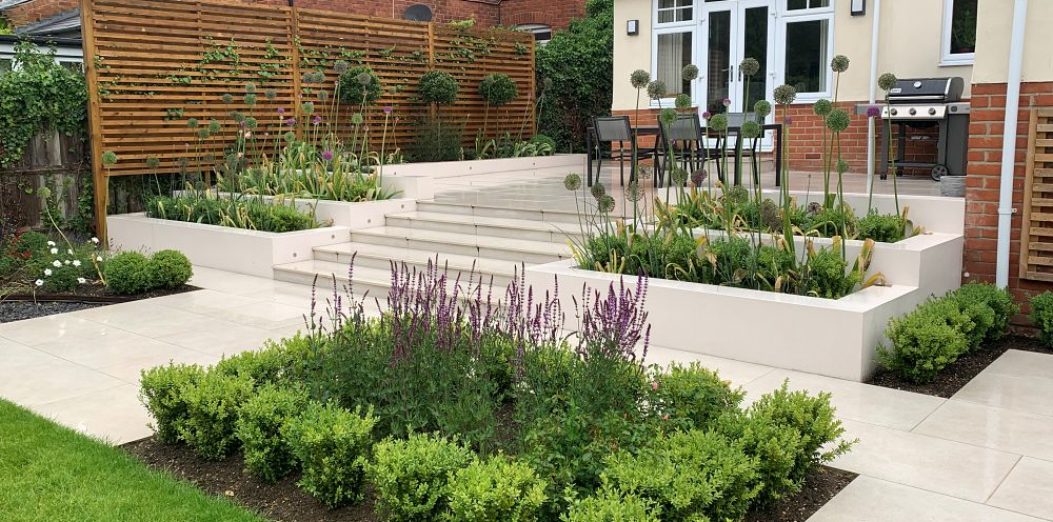
Before we continue with some more practical considerations, here are a few before and after pictures from several ALDA projects, illustrating how much of a difference steps can make to a project:

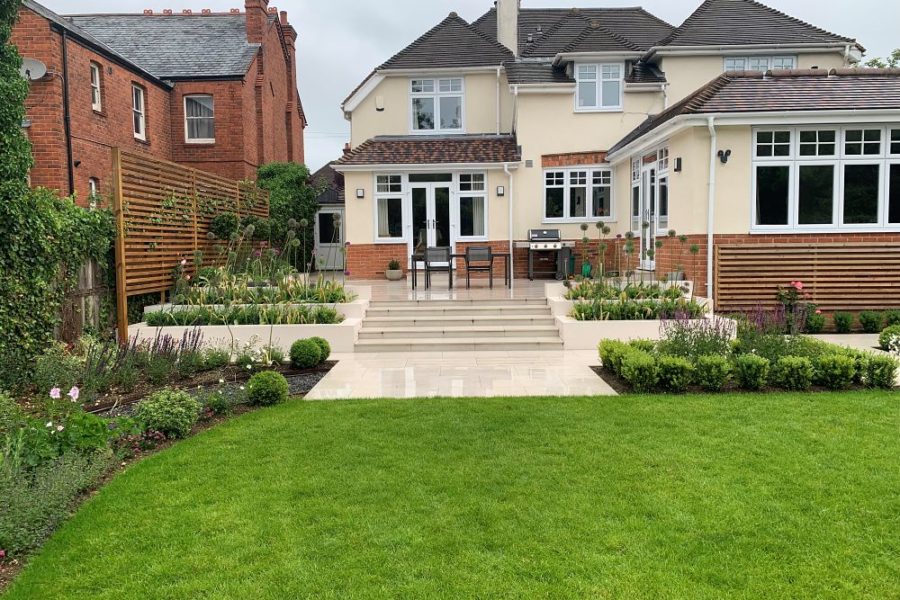
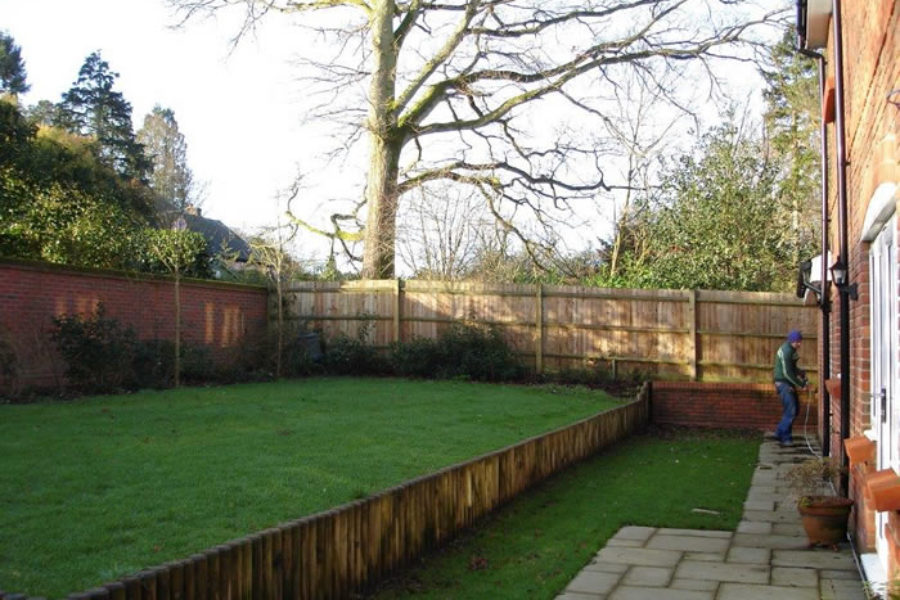
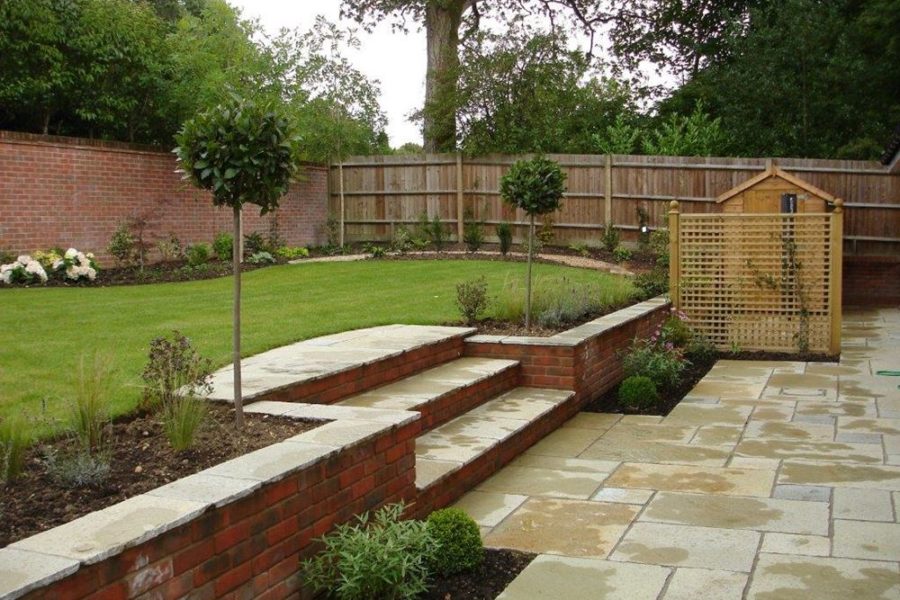
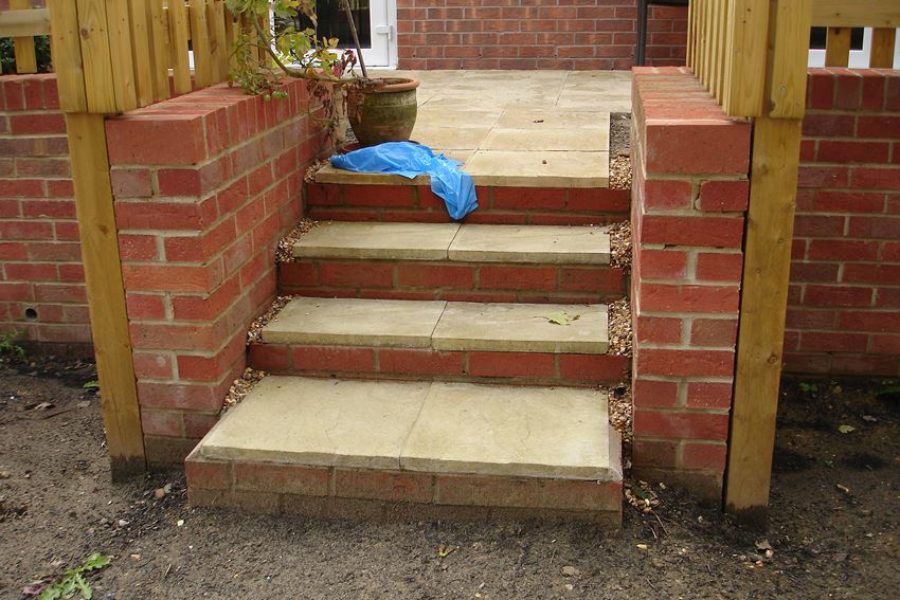
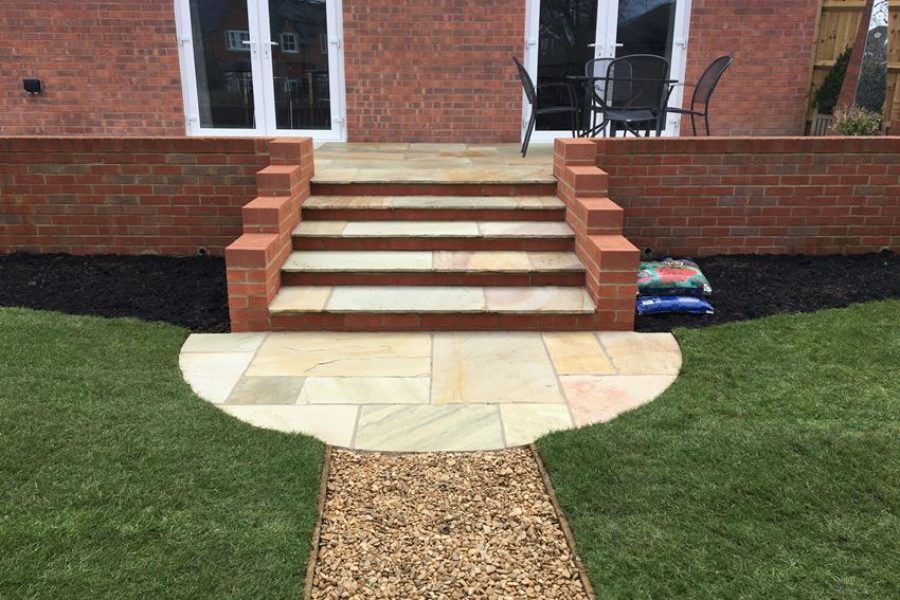
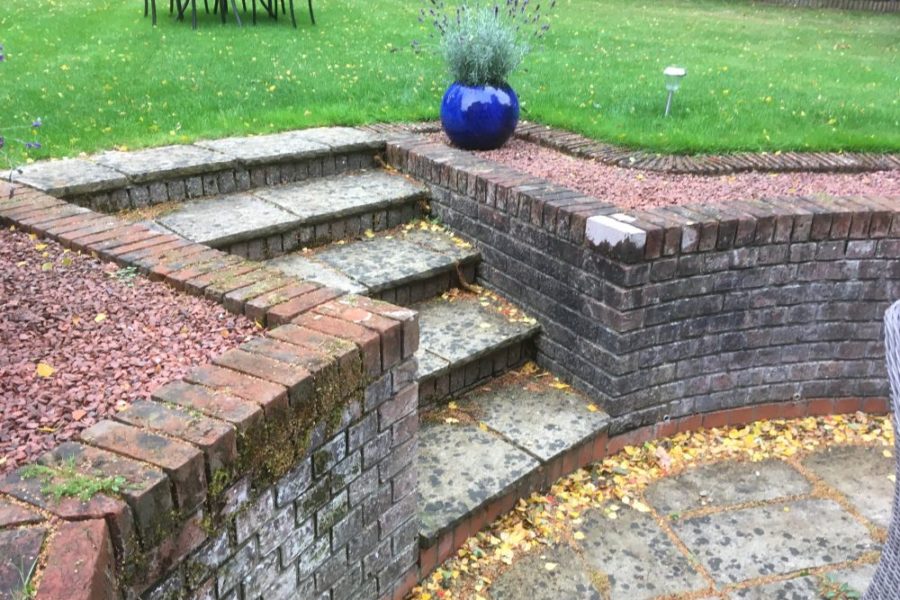
In most of these examples, the ‘before’ steps were relatively narrow; some tucked away to the side and not always visible, creating a feeling of being trapped. Centralised, wide steps with a shallow step height slow down the pace whilst providing an airy spacious feel to the change in levels. Not having a hard landing at the base is another common mistake – likely to lead to a worn patch. In the third example, the ‘before’ steps appear too narrow, with no nosing (overhang) and steps are not finished flush to the wall. Changing the level of the side / wing walls to drop down with the steps also creates a more open feel here.
From Experience: Step Height, Depth and Width
The rules of thumb given above are really useful guidelines (and there are many more!), although it is not always possible or desirable to follow them slavishly. I always think that 150mm is a comfortable step height, along with a tread depth of around 450mm, possibly a little more if space permits. And where steps are covering a long horizontal distance with wide gaps between the risers, making sure that the distance between the step risers is a comfortable number of paces is an important consideration.
When designing garden steps, the first consideration is obviously the height of the change of level, along with the amount of horizontal space available. Small gardens on steep slopes can be a big challenge for garden designers as the number of steps needed to get from top to bottom of a slope can take up a vast amount of horizontal space, which simply might not exist. There are various ways to overcome this problem:
- Steps can be inset so that, for example they might start before the patio edge and therefore not extend too far into the lawn below (although they will of course eat into the available patio space).
- Another option is to change the direction of the steps, so that instead of running out from a higher level patio, they run parallel with it, with the patio retaining wall effectively acting as the side wall of the steps. In complex and / or steep designs, the steps might have several changes of direction, with landings acting as areas to change the direction of flow, and also as places where people can stop and catch breath(!).
These neat solutions, however, have their own major issue – one of cost: complex steps / landings / walls are expensive to build. So, the designer needs to be able to balance several conflicting priorities.
Illustrated Examples
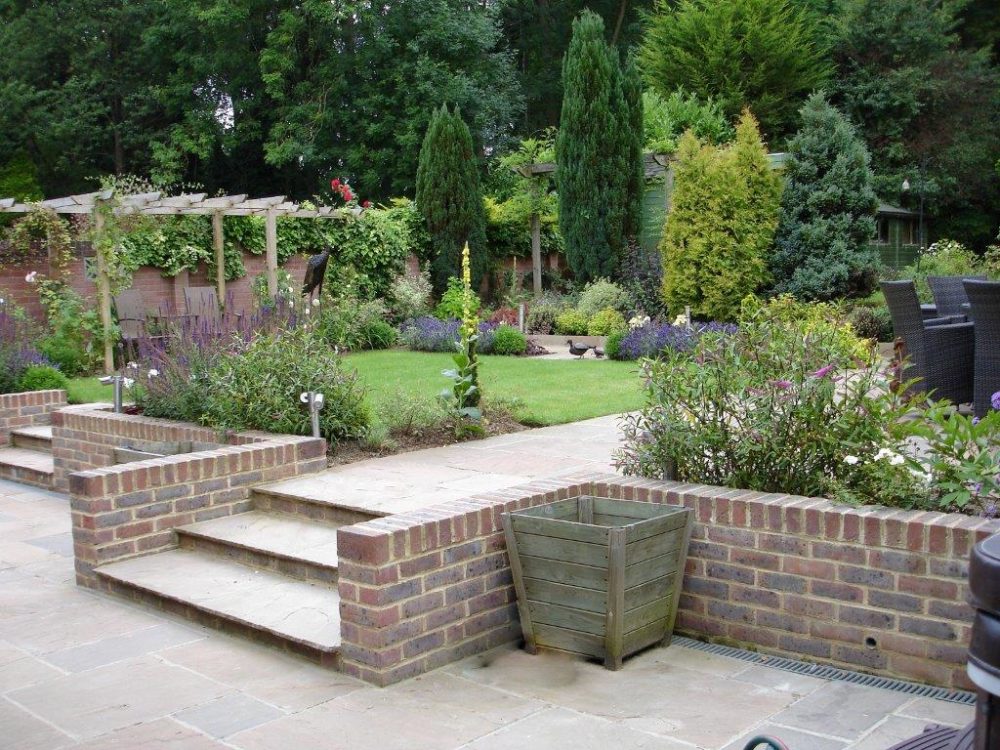
Steps inset into the bottom patio here allow us more space at the higher level – and also create a more streamlined look alongside the lawn.
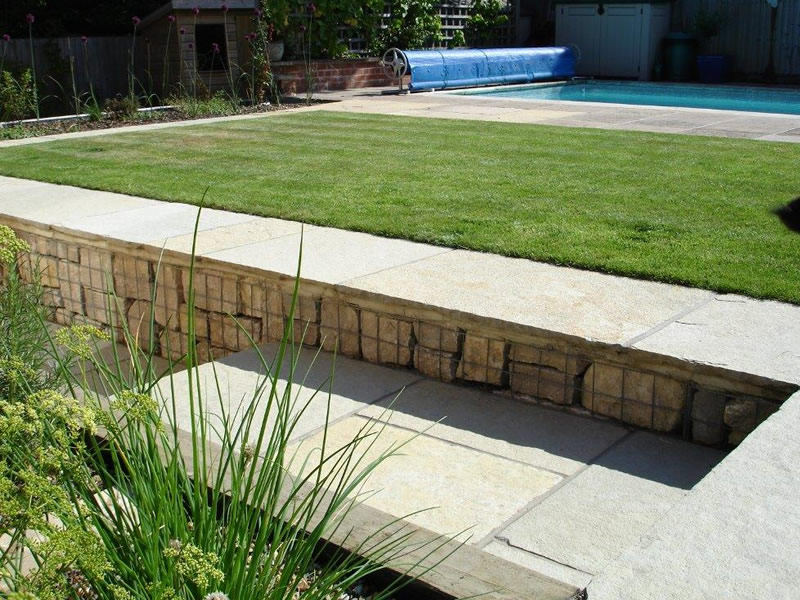
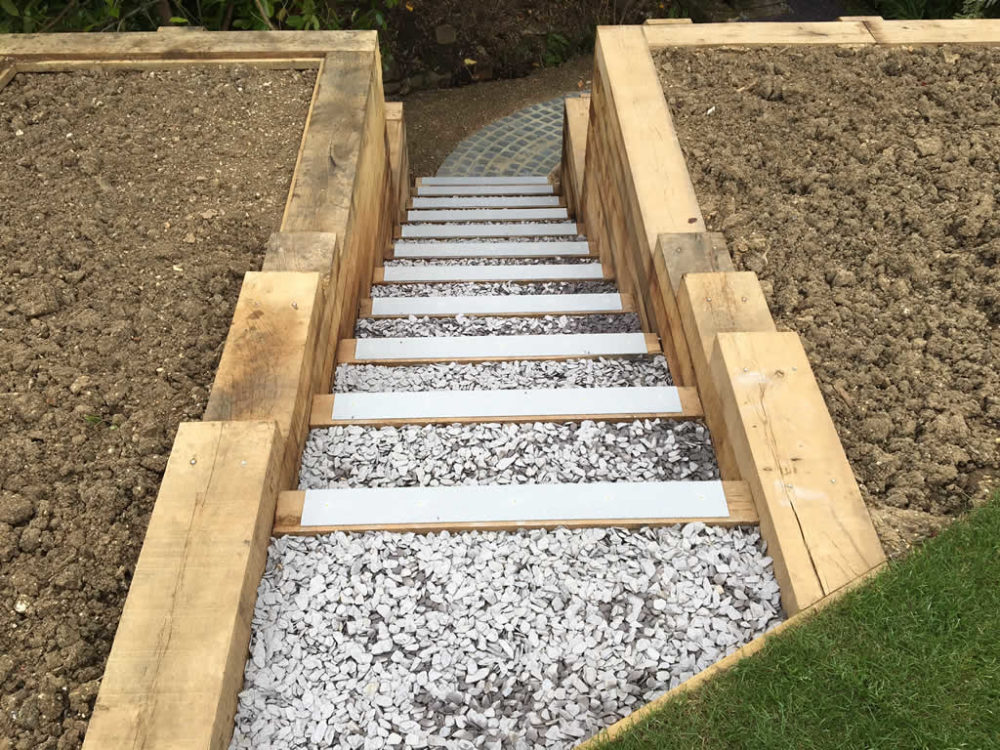
Using gabions as retaining walls is a quirky alternative to the standard brick wall. Where steps cover a long horizontal distance, it’s important to get the distance between the step risers right – a comfortable number of paces.
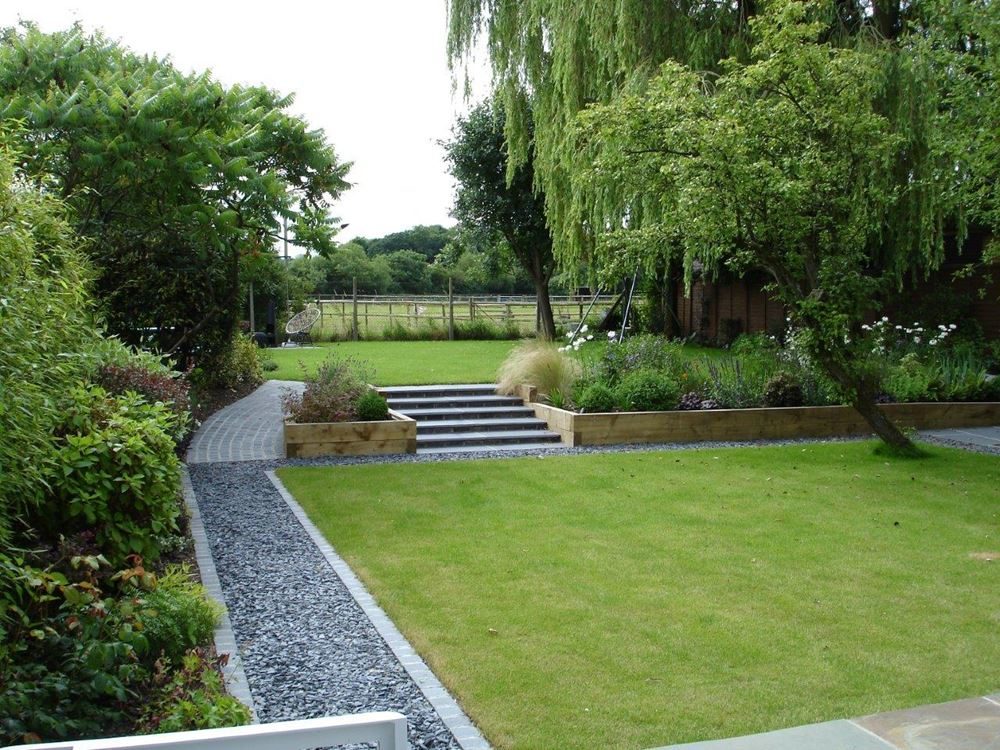
Another example where it was important to get the pace right – with steps covering a reasonably long horizontal distance.
Practical Design Considerations
There are plenty of other design considerations too:
- What style / character is required – formal and grand; informal; intimate etc. And this will influence:
- Materials – paving (in all its forms) for treads, with brick risers – is the obvious choice, but there are plenty of other choices. Urban chic steps with slick porcelain paving can have porcelain clad risers. Sleeper steps might be an option, and so on. Looks and feel are important, but comfort and safety are vital – falls for drainage and non-slip surfaces are a must.
- For safety, an overhang on each step (or nosing) should also be considered as this improves visibility.
- Where steps drop down to a lawn, some form of paved landing, flush with the lawn, will help prevent excess wear of the lawn.
- Are side / wing walls needed – for looks, retaining or safety?
- Or handrails? If so, it will be easier to design them in at the planning stage.
- Is some form of balustrade required for patio and / or steps? – building regulations specify this as a requirement if there is a fall of 600mm or more, and in any event, the safety of all garden users is paramount. If balustrades are considered undesirable, then the need for them can often be overcome by, for example, building raised beds to reduce the height of the fall adjoining the steps.
- And if the steps are to be used at night, then lighting is also something to bear in mind – and can take many forms – spot lights, mushroom lighting or bollards in adjoining borders, inset lights in side walls, strip lights under the nosing (overhang) to name a few.
More Illustrated Examples
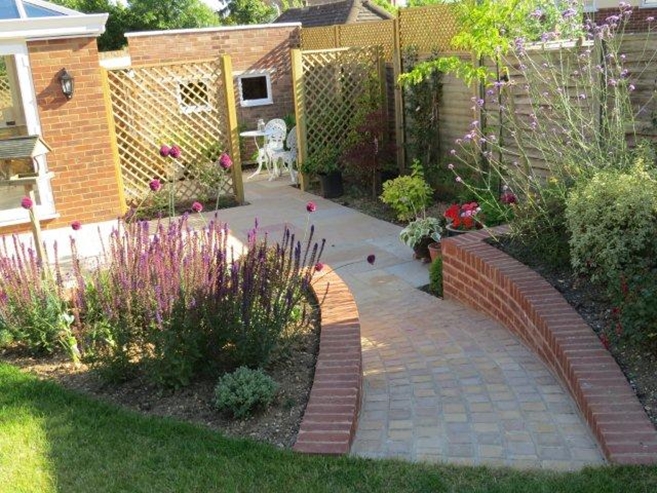
A combination of steps and ramp is often a good solution – the steps provide a formal entrance and guide the eye to the next section of the garden, whilst the ramp provides practical access.
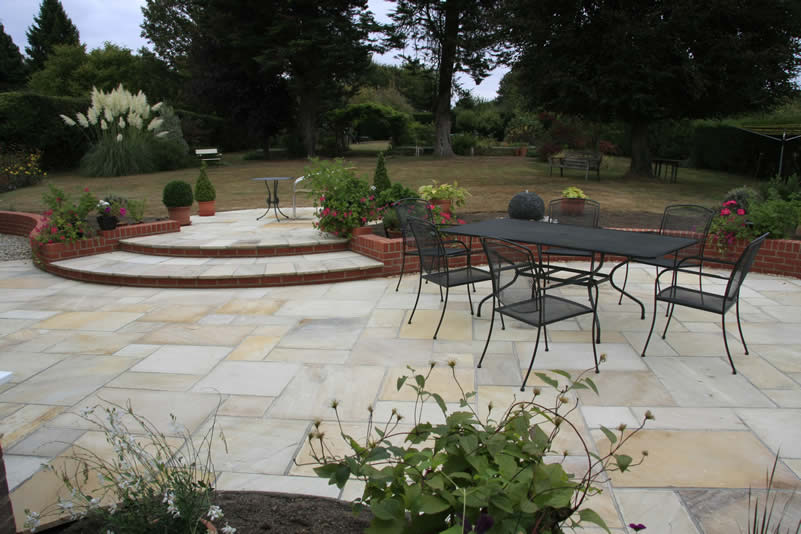
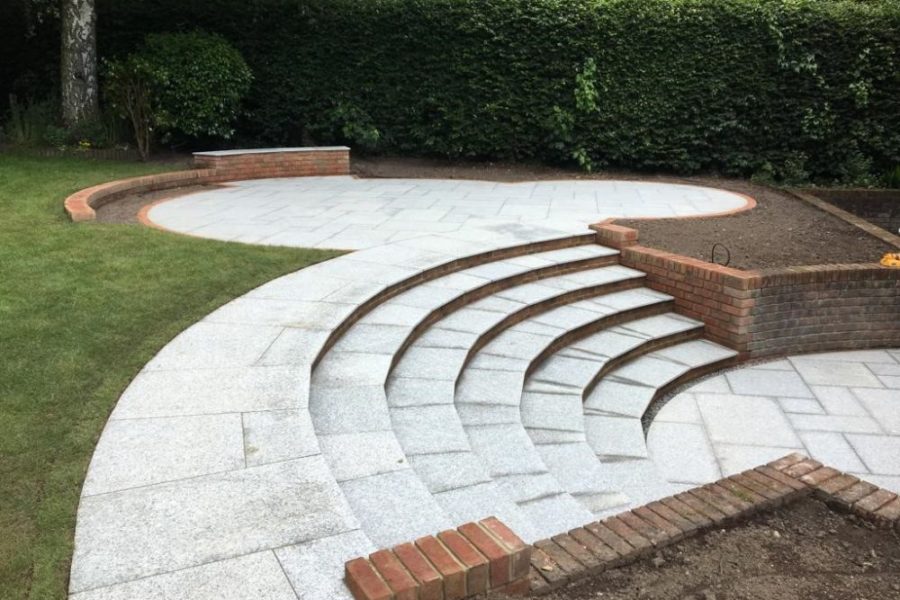
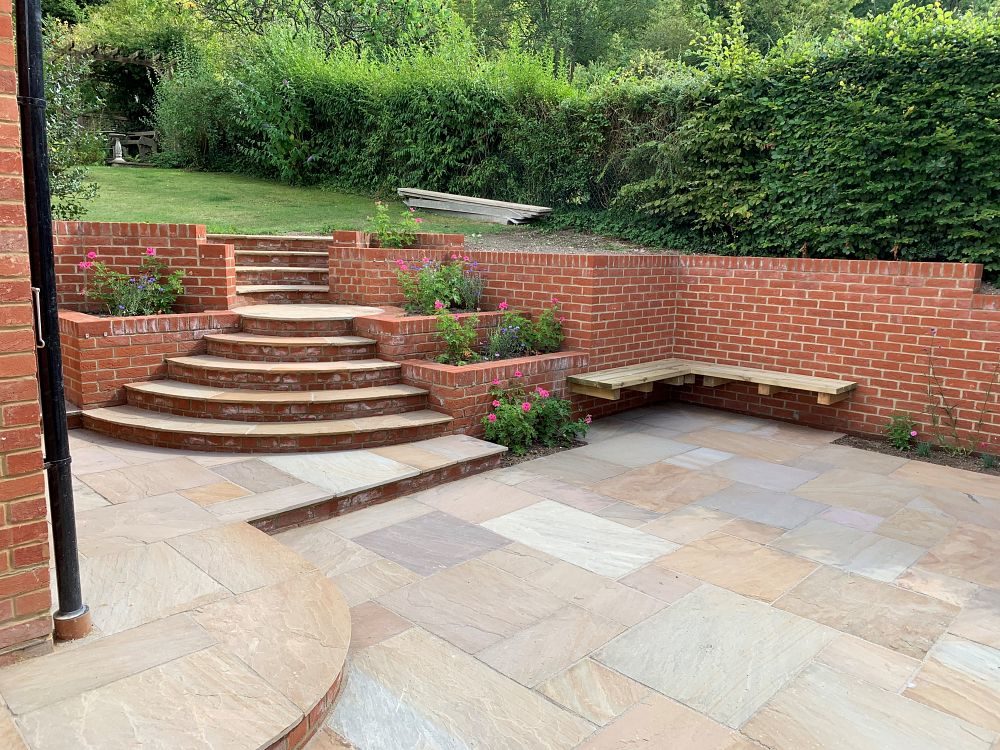
Here a fantastic sense of flow is created by combining semi-circular steps into the flow of the retaining wall. A shallow step height and deep tread depth, paired with a small overhang (nosing) on each step creates a stylish entrance onto the lawn.

For steps leading to a lawn, having the top/bottom step flush with the lawn helps prevent a worn patch.
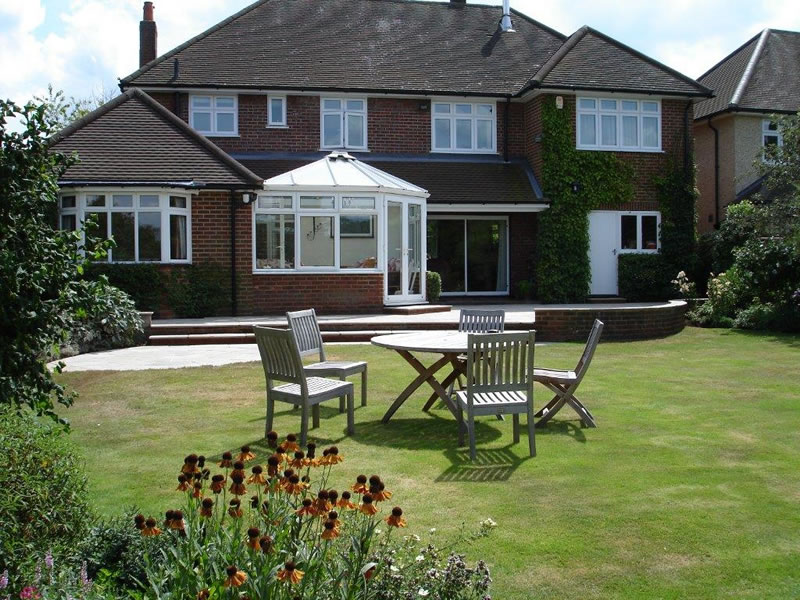
Here a step running almost the whole length of the patio gives a very open, airy feel – as well as providing easy access from multiple directions.
A ramp provides a real sense of flow whilst being an accessible alternative to steps. Often a good option where space permits – particularly when it comes to moving lawn mowers and other garden equipment around.
Here, a step change in levels is managed via several retaining walls and some relatively steep steps – a non-slip surface and anti-slip treads are especially important here.
This blog post has barely scratched the surface! There is clearly a lot to garden step design, and it is one of the most interesting, yet challenging aspects of the garden designer’s job…
Need some advice on garden steps? If you’re based in the Newbury or Reading area, please do get in touch!